Hi Fellows,
I would like to share a small tutorial on how to setup a lab setup for CobaltStrike DNS beacon. Why this become interesting is because the DNS beacon is quite hard to detect with simple method, Some DNS product need to use machine learning to reduce the false detection. DNS beacon is one of the most prefered by the adversaries to establish the CnC communication
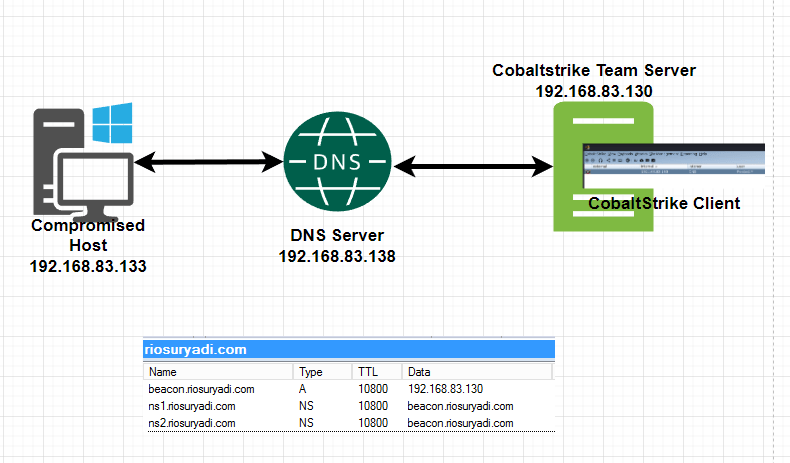
There are 3 components that need to we pay attention on this lab setup are the DNS server, Cobaltstrike teams server and compromised host. The setup would be like below
I am using windows server to be the server and one DNS server application called Simple DNS Plus which can be downloaded from https://simpledns.plus/
DNS Server Configuration
Lets setup a simple DNS server that allow us to establish DNS beacon. I use riosuryadi.com to be the domain name that will be used for beacon communication.

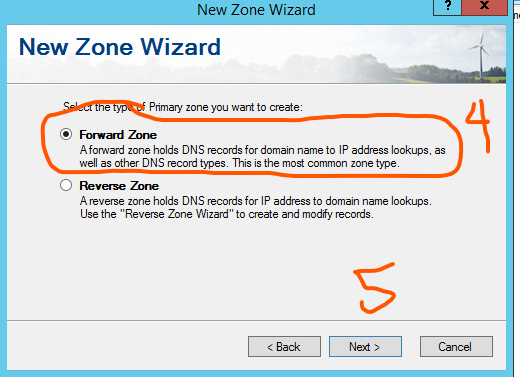
Create the primary zone as your domain name. This is the domain name that you use to handle the beacon communication. Many adversaries register domain name and install a simple web page and keep them for one year before to be used for malicious activities. Why this is important is to allow the domain name has at least a neutral reputation in most threat intel platform such as VirusTotal, Cisco Talos and IP abusedb

After we successfully setup the above domain name. Then we need to setup A record which you need to point to the CobaltStrike team server at 192.168.83.130

I created a sub domain called beacon.riosuryadi.com to be pointed to 192.168.83.130 which become our CobaltStrike team server.

Setting up NS Server
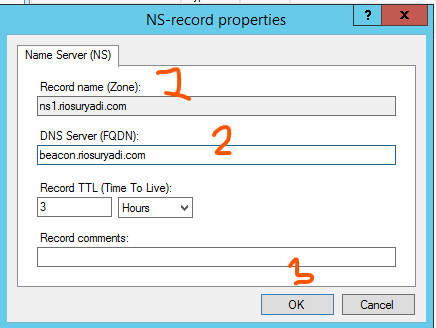
The NS server is very important where it will divert the DNS query to the CobaltStrike DNS server via the A record that we made above. It is to tell the DNS server that the authorative server is our CobaltStrike team server. I created 2 NS server (NS1.riosuryadi.com and NS2.riosuryadi.com) which points to the same A record. This is to allow the CobaltStrike listener handle the response of each DNS query from compromised host
CobaltStrike Listener
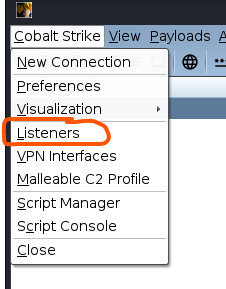
Lets open the CobaltStrike application and go to the Listener to show all the CnC listener available
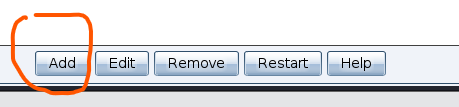
Let’s create a new one by clicking the below button
Following the below sequence. We need to put name of our DNS beacon C2. Select the payload type is Beacon DNS
Add the DNS host ns1.riosuryadi.com and ns2.riosuryadi.com

Add the DNS Host stager with the A type which is beacon.riosuryadi.com. After that click on Save button.
Victim Machine
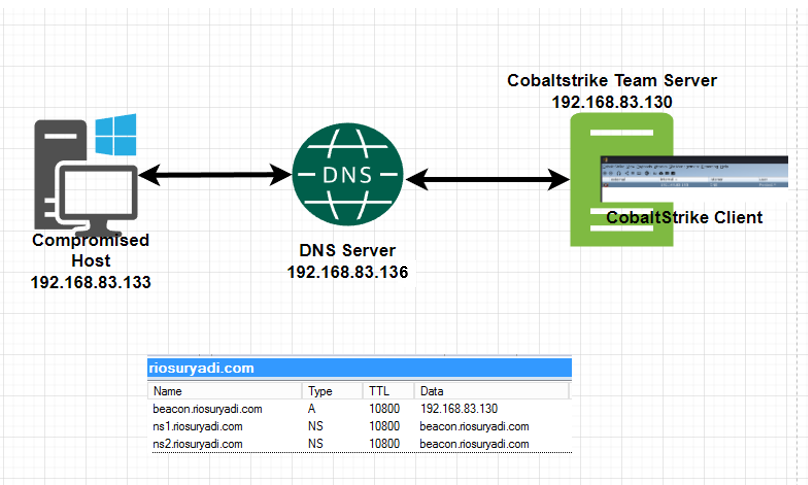
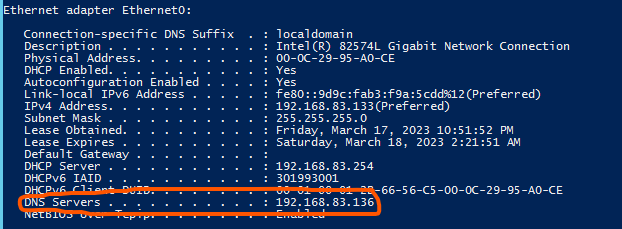
What we need to ensure that the victime machine DNS server is pointed to 192.168.83.136 where the DNS server is running.
Below is the DNS configuration on the victim machine
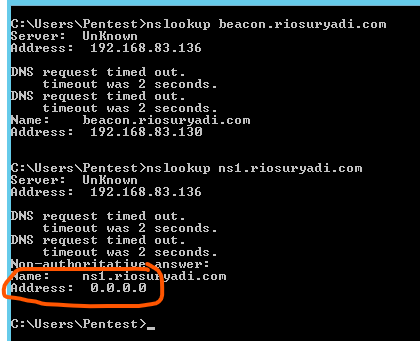
Checking the DNS configuration is correctly done by following steps. The output of nslookup of ns1.riosuryadi.com should be 0.0.0.0
We can generate CobaltStrike beacon with the listener pointed to the listener. Below is the connected beacon to the team server

